However, a perfect white background requires a lot of (expensive) photography studio equipment. Not to worry, there’s a simple trick in Photoshop you can do in seconds to produce near-perfect white backgrounds. Watch this short video by Cheapshooter to learn how to use Photoshop’s Curves adjustment to get whiter backgrounds in your photos.
https://youtube.com/watch?v=zVKLL3hitwI%3Frel%3D0 Does it work? Well, it’s effective enough for amateurs like me. I took an iPhone 5 photo of a product sitting on top of a plain white folder.
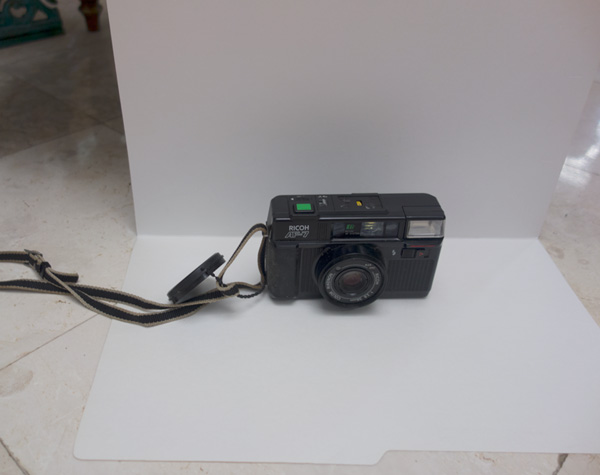 This is the unedited photo:
 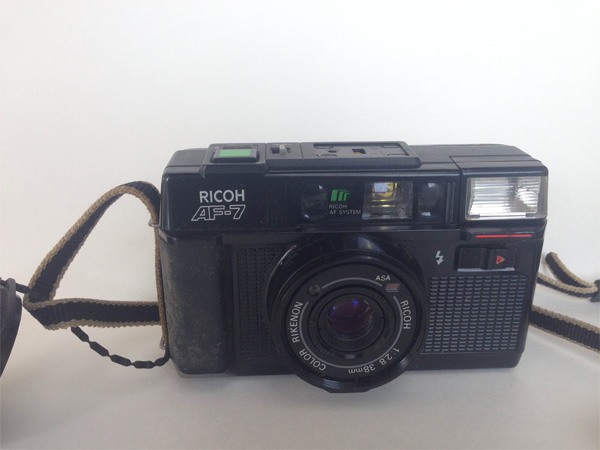 You can see there’s a lot of shadow and dark areas in the background. I imported the image to Photoshop and, using the Curves adjustment panel, I dragged the curve to the left of the histogram until I was satisfied with the background.
 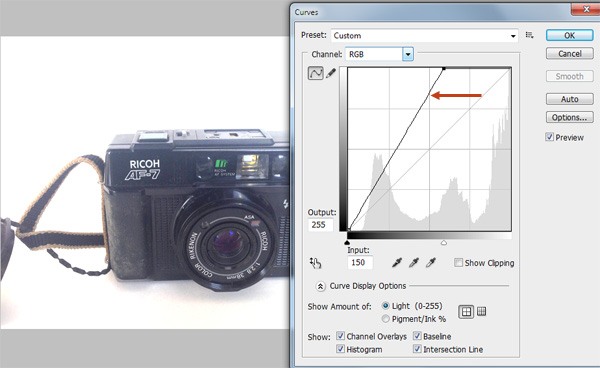 There were still a few dark spots after the adjustment, specifically at the corners of the frame.
 So I used the Brush tool to manually lighten up those dark background areas. It only took a few seconds.
 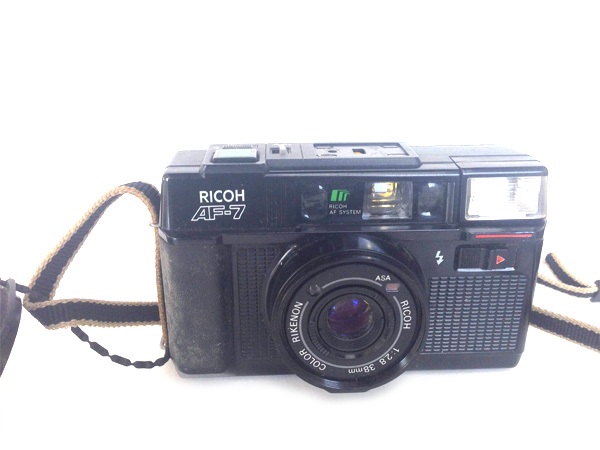 This Photoshop trick would work much better with a DSLR camera shooting in RAW, and also by using a light box.
By shooting in RAW, we will be able to work with more color data, which essentially means lighter foreground colors won’t get affected as much. You can see from the iPhone 5 photo above that I lost a lot of light-colored details. If you don’t have access to a DSLR, you could consider using a Curves adjustment layer, mask light areas of the foreground which are in danger of being overexposed, and then proceed with the curves adjustment that way.
-
 Trevin serves as the VP of Marketing at WebFX. He has worked on over 450 marketing campaigns and has been building websites for over 25 years. His work has been featured by Search Engine Land, USA Today, Fast Company and Inc.
 -

WebFX is a full-service marketing agency with 1,100+ client reviews and a 4.9-star rating on Clutch! Find out how our expert team and revenue-accelerating tech can drive results for you! Learn more
Make estimating web design costs easy
Website design costs can be tricky to nail down. Get an instant estimate for a custom web design with our free website design cost calculator!
Try Our Free Web Design Cost Calculator
Share this article


Web Design Calculator
Use our free tool to get a free, instant quote in under 60 seconds.
View Web Design Calculator
Make estimating web design costs easy
Website design costs can be tricky to nail down. Get an instant estimate for a custom web design with our free website design cost calculator!
Try Our Free Web Design Cost Calculator