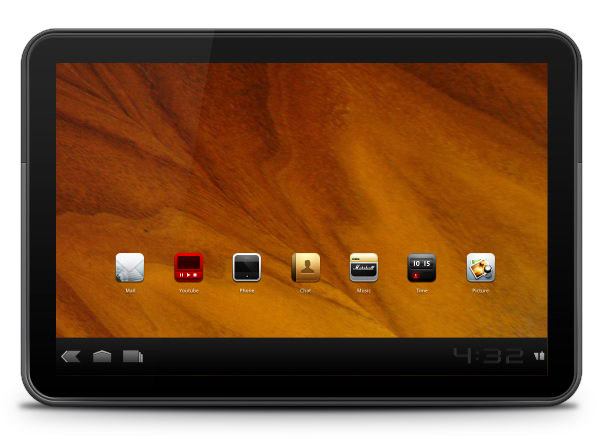
Preview
Tutorial Resources
- Icons: Round Theme Icon (kon)
- Font: AndroidClock (iKon)
- Font AndroidClock Highlight (iKon)
Step 1: Create the Basic Xoom Shape
Create a new Photoshop document with a canvas size of 1400x1000px.
Use the Rounded Rectangle Tool to draw a black rounded rectangle with Radius at 70px.
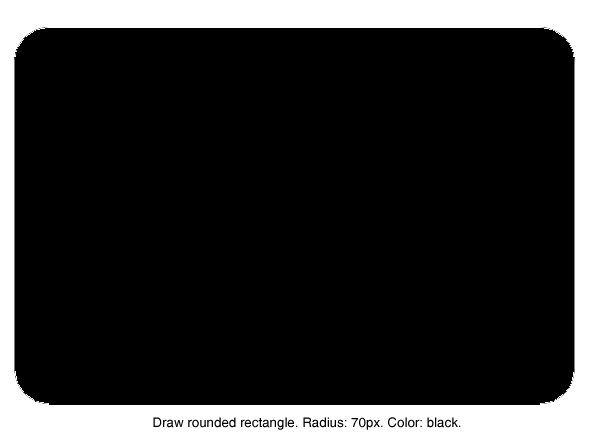
Use a Gradient Overlay to give its surface a subtle highlight.


Draw a smaller rounded rectangle with the Radius option at 50px inside the previous shape.

Give the inner rounded rectangle shape layer a Bevel and Emboss to give it a slight 3D look and a Gradient Overlay for better surface appearance.
Bevel and Emboss
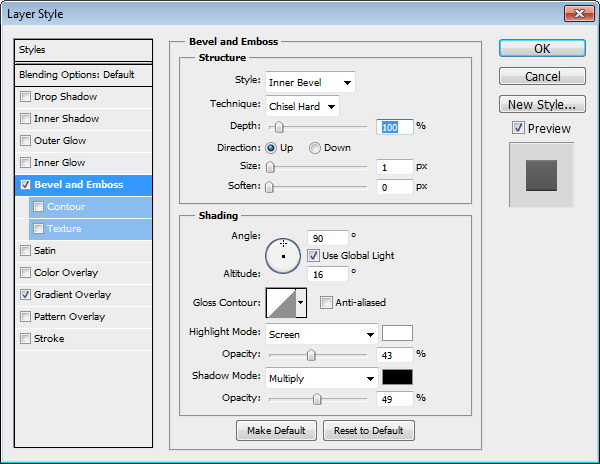
Gradient Overlay

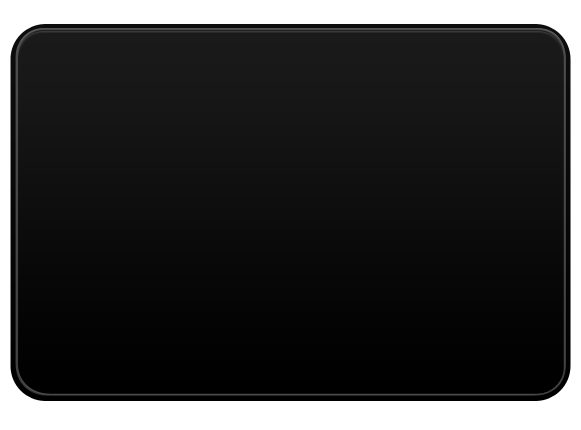
This is what we have so far:

Step 2: Create the Inner Beveled Edge
Next is adding a beveled edge around the inner rounded rectangle of the Motorola Xoom.
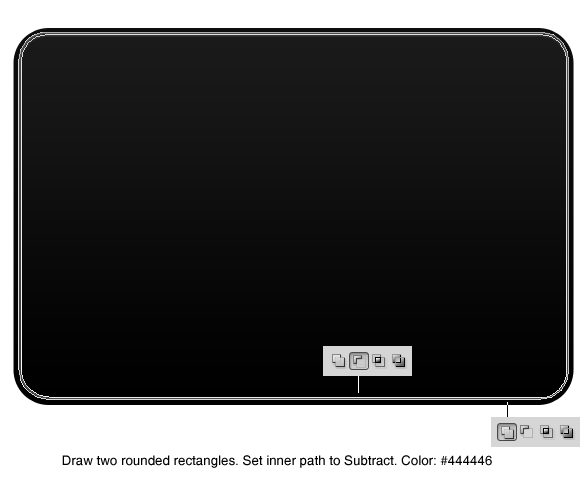
Draw two rounded rectangles, one smaller than the other. For the smaller inner rounded rectangle, choose the Subtract from shape area (-) option located in the Options Bar. This will give you the shape shown below.
Set its color to #444446.
Give the shape a Bevel and Emboss and a Gradient Overlay.
Bevel and Emboss

Gradient Overlay

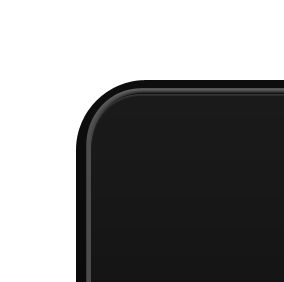
This is how the beveled edge looks like in 100% view:
Step 3: Create the Outer Beveled Edge
Let’s draw the outer beveled edge. Repeat the previous step, but this time, draw it on the outer side of the Motorola Xoom’s shape. Make sure to add a small, 1-2px gap between both beveled edges.
Name the layer “outer bevel”.

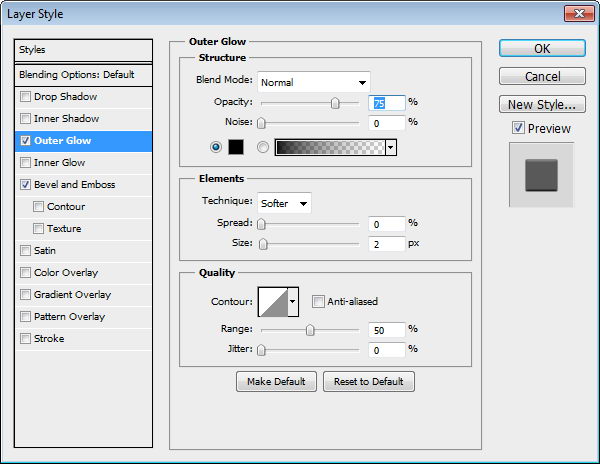
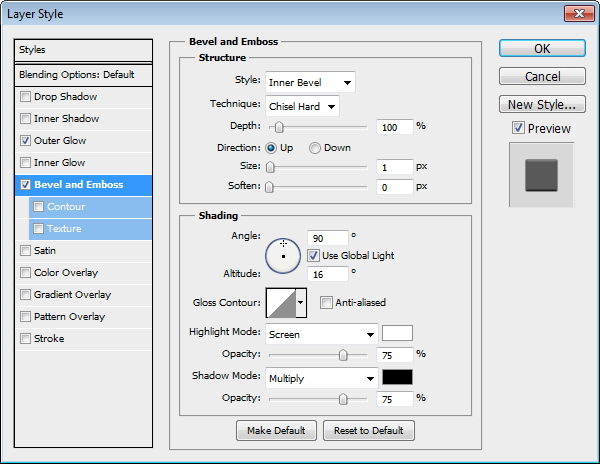
Give the “outer bevel” layer an Outer Glow and a Bevel and Emboss.
Outer Glow
Bevel and Emboss
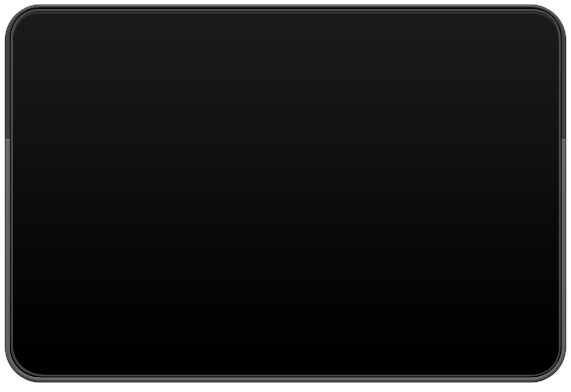
This is the result of the layer style we applied above:
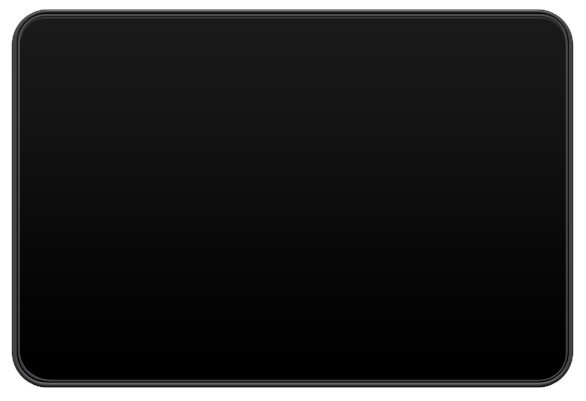
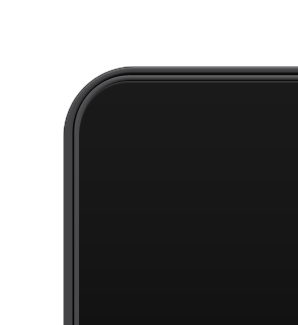
Here is the result in 100% view:
Step 4: Modify the Top Edge
The Motorola Xoom has a darker top edge, separated from the bottom edge by grooves on the left and right side.
For realism, we should mimic this aesthetic by modifying the beveled edges we drew previously.
Duplicate the outer bevel shape layer we created earlier. Draw a rectangle using the Rectangle Tool with the Subtract from shape area (-) option set.
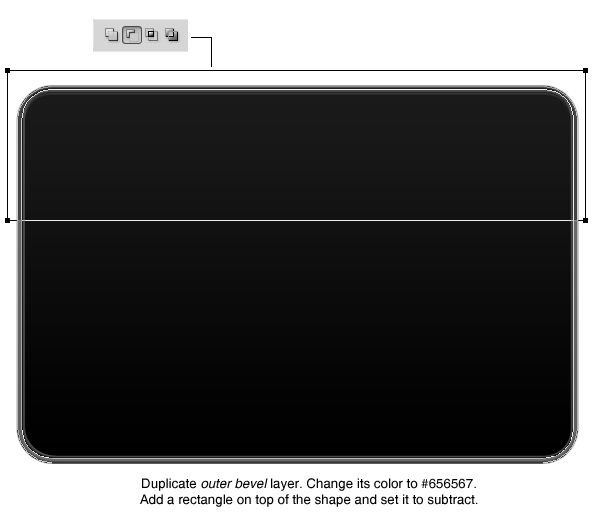
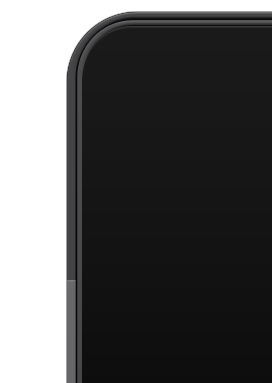
Here’s what we have now:
Here’s a closer look (100% view):
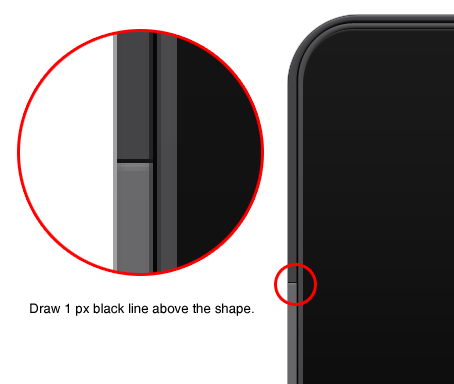
Create a new layer. Switch to the Pencil Tool and set its Master Diameter to 1px.
Draw a black line on top of the shape. This thin line will add some depth to the shape of the body and act as the groove that can be seen on the left and right sides of the Xoom.
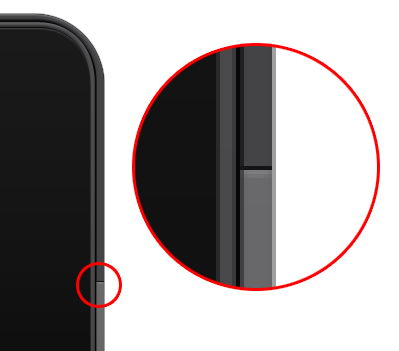
Create the black line on the other side of the shape as well.
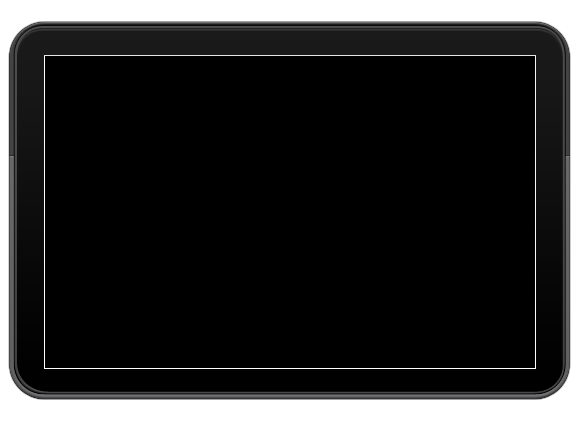
Step 5: Create the Screen
For the touchscreen of the Motorola Xoom, draw a black rectangle using the Rectangle Tool.
Paste a wallpaper on top of the screen. Here, I have used a wallpaper from Alex Hopkins but feel free to choose any photo you want.
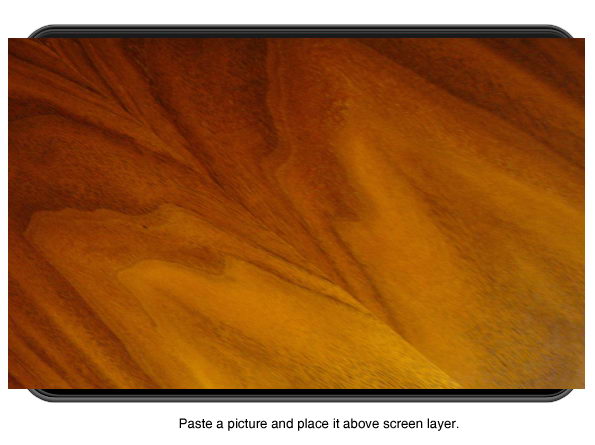
Make sure the wallpaper layer is right above the screen layer.
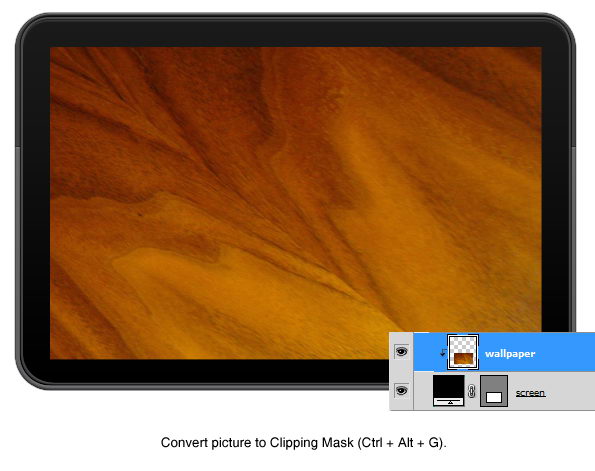
Hit Ctrl/Cmd + Alt/Option + G to convert the wallpaper layer into a clipping Mask. The wallpaper will then be clipped according to the screen layer so that areas of the wallpaper that spill outside the screen is hidden. You can still resize or move the wallpaper layer without affecting the screen shape.
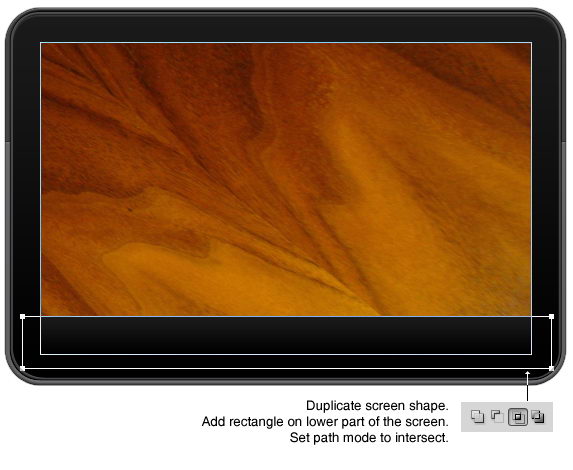
Step 6: Create the Taskbar
Duplicate the screen layer.
Draw a rectangle on the bottom portion of the screen using the Rectangle Tool set to the Intersect shape areas option.
Give the shape layer a Gradient Overlay.

Step 7: Drawing the Home Button and Other Buttons
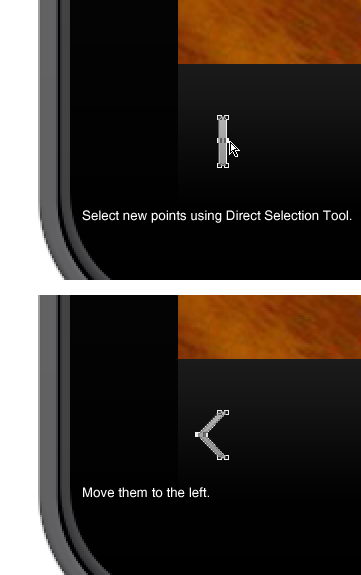
Draw a rectangle with color #919191. Click its middle-left and middle-right sides with the Pen Tool to add two new points.
Switch to the Convert Point Tool and then click on both points to convert them to sharp points.

Drag the points horizontally until we get an arrow shape. See the image below for reference.
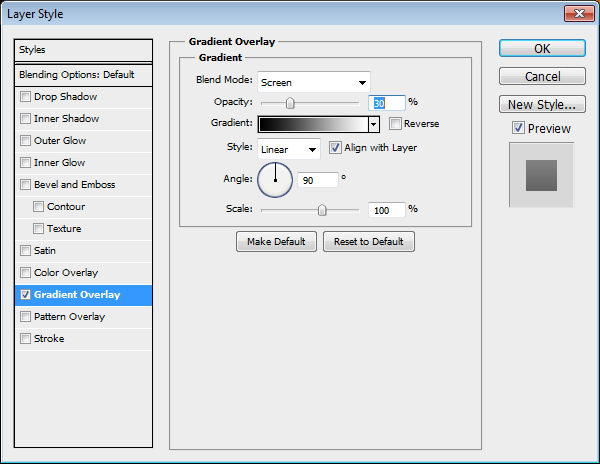
Give the shape a Gradient Overlay.
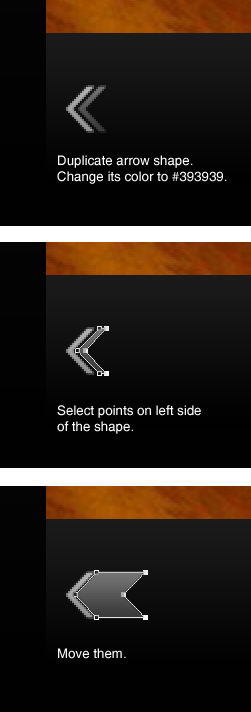
Duplicate the arrow shape. Change its color to #393939. Drag the anchor points on its left side until we have a much wider arrow shape.
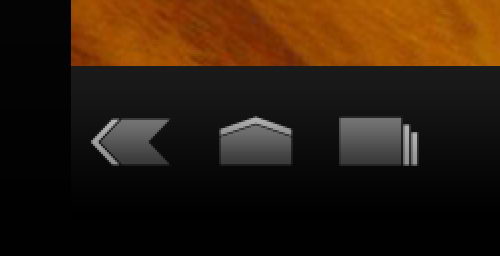
Use a similar technique for drawing the other buttons.
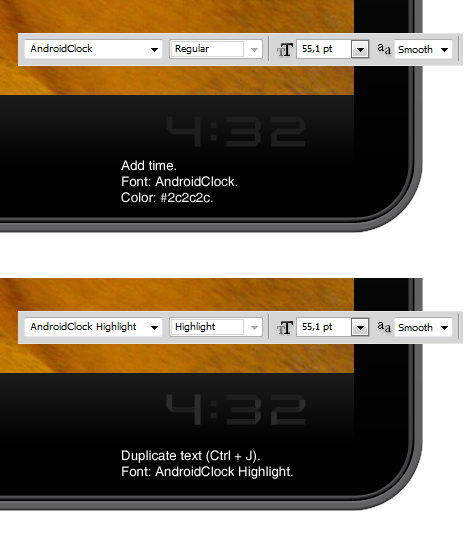
Step 8: Display the Time
The Motorola Xoom displays the current time on the bottom-right corner, in its Notifications & Quick Settings area.
For the font, you can use AndroidClock from krainos. Type out the time using the Horizontal Type Tool (T). Duplicate the text layer by pressing Ctrl/Cmd + J and change the font of the duplicated layer to AndroidClock Highlight.
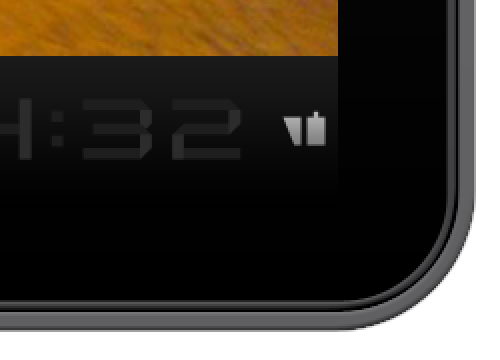
Step 9: Draw the Battery and Signal Status
Still in the Notifications & Quick Settings area of the Xoom, we need to draw a small battery and signal icon.
Use the Rectangle Tool, the Pen Tool and other vector-drawing tools to see if you can draw these simple icons.
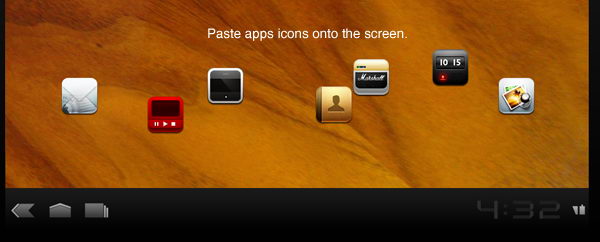
Step 10: Adding App Icons
Download the Ciceronian icons by Marcelo Marfil. Paste the icons on top of the touchscreen.
Put all icon layers into a layer group by selecting all of them in the Layers Panel and pressing Ctrl/Cmd + G.
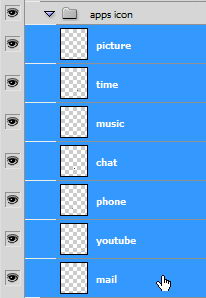
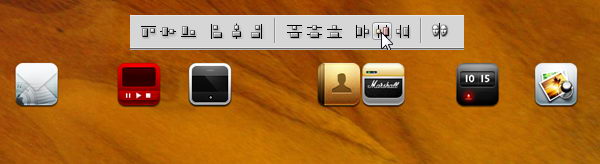
In the Layers Panel, select all the icons. Switch to the Move Tool (V) and, in the Options Bar, click on the Align vertical centers button.
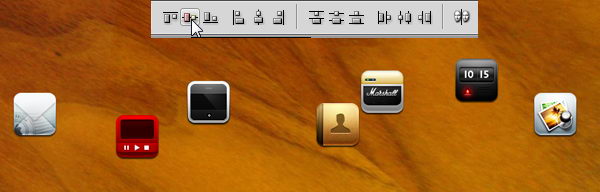
Next, to give them even spacing, press the Distribute horizontal centers button.
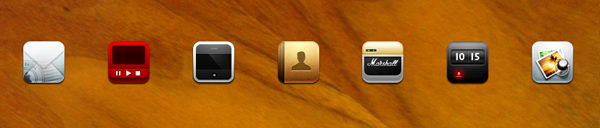
We now have perfectly aligned icons.
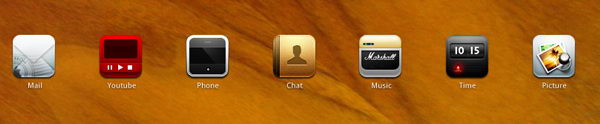
Add some text under each icon.
Step 11: Create a Screen Reflection
Duplicate the screen layer.
Switch to the Pen Tool (P), choose the Intersect shape areas option in the Options Bar and then draw the black shape as shown below.
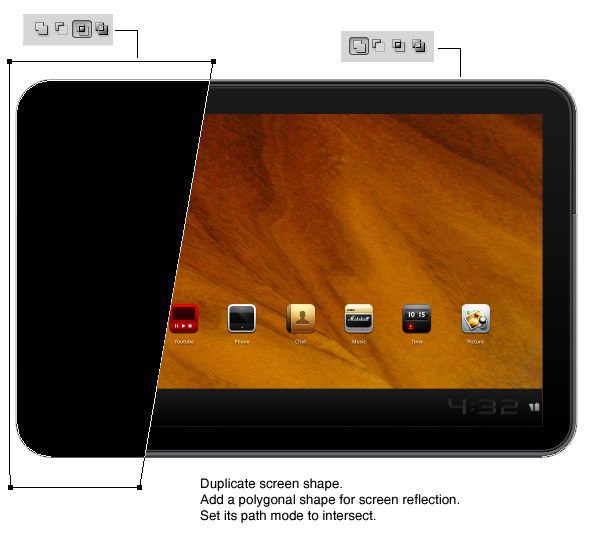
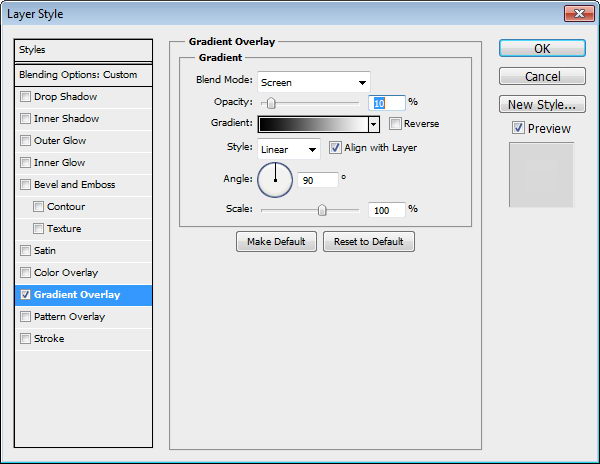
Give the shape layer a Gradient Overlay.
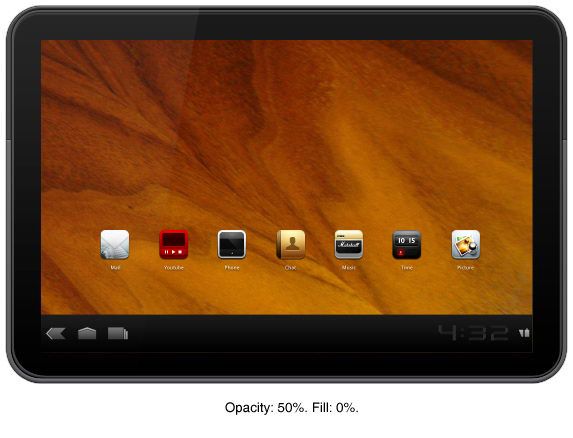
Set the layer’s Opacity to 50% and Fill to 0%.
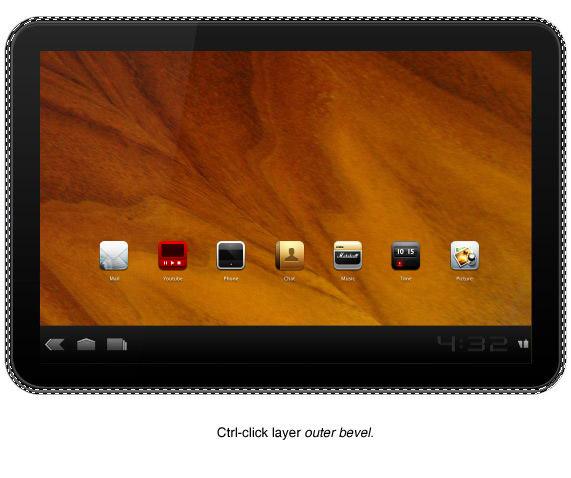
Step 12: Painting Highlights
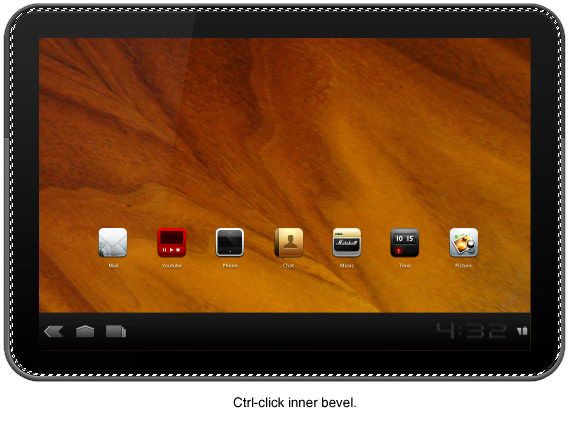
Ctrl-click/Cmd-click the outer beveled edge layer to place a selection around it.
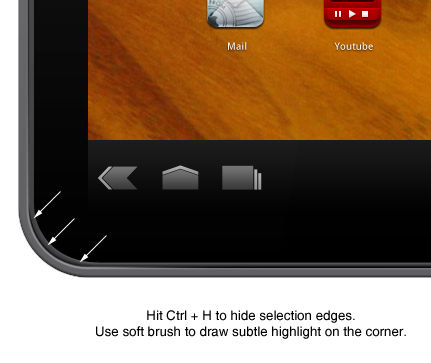
Create a new layer. Set your Foreground color to white. Press Ctrl/Cmd + H to hide the selection edge so that you can see your work easier.
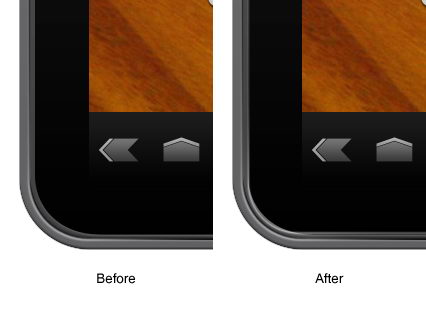
Switch to the Brush Tool (B) and use a small brush with 0% Hardness. Paint subtle white highlighting strokes on the bottom-left corners of the outer beveled edge. Since we still have the selection around the beveled edge, the paint strokes should only appear within it.
The highlighting should be very subtle.
If it’s too strong, you can reduce the layer’s Opacity. Below, you can see the difference before and after painting the highlights.
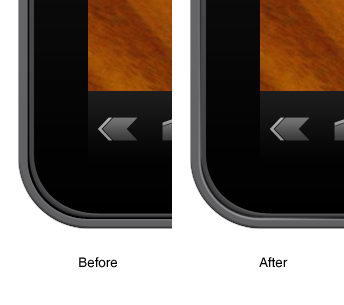
Repeat the same process on the other side.
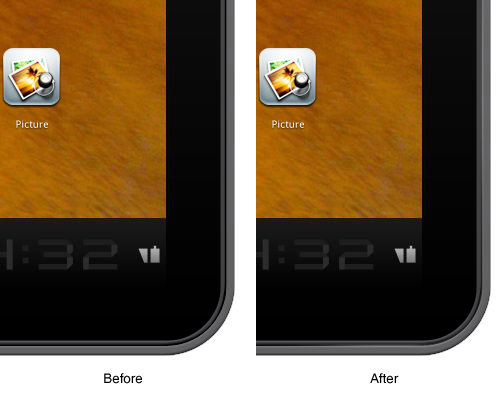
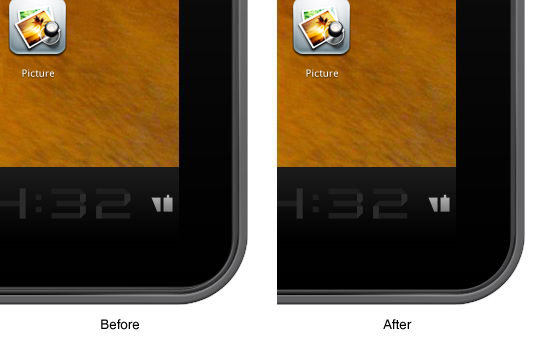
Let’s do this as well for the inner beveled edge. Ctrl-click/Cmd-click the layer and then paint highlights using the same brush settings.
Below, you can see the before and after difference.
Step 13: Painting Shadows
To finish our work, we will create some shadows.
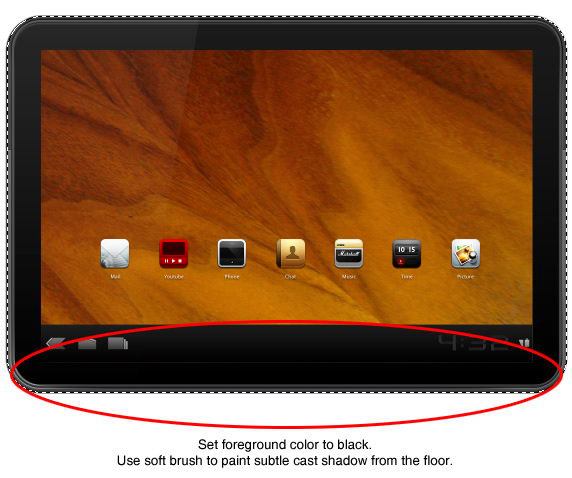
Ctrl-click/Cmd-click the Motorola Xoom’s base shape to place a selection around the Xoom. Create a new layer and place it above all the layers. Choose the Brush Tool (B) and give it a very big brush with 0% Hardness and very low Opacity.
Paint black strokes at the bottom side of the Motorola Xoom to cast a subtle shadow on the floor.
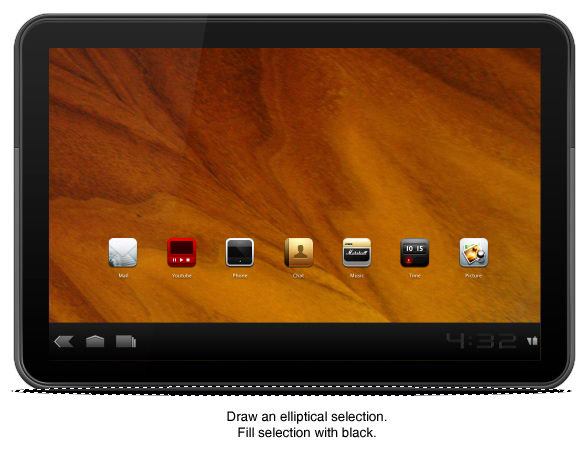
We will create a more prominent shadow. Create a new layer and place it under all the layers. Use the Elliptical Marquee Tool to drag out a horizontal ellipse under the Motorola Xoom.
Fill it with black.
Deselect the selection by pressing Ctrl/Cmd + D. Choose Filter > Blur > Gaussian Blur, set it at 5px Radius and press OK to apply the filter.

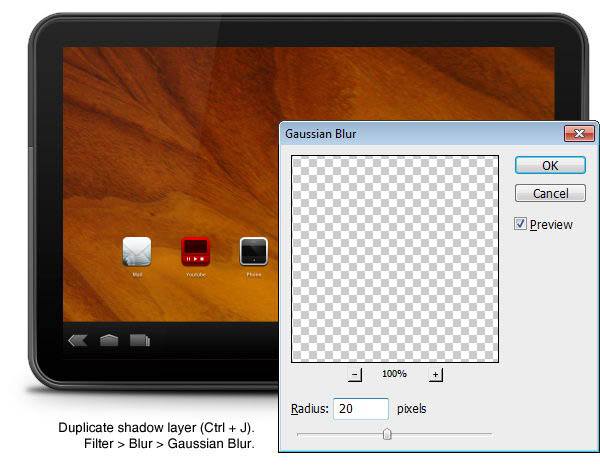
We still need a softer shadow to make our work as realistic as possible. Duplicate the shadow we just created by clicking on its layer to make sure it’s the active layer and then pressing Ctrl/Cmd + J.
On the duplicate layer, press Ctrl/Cmd + Alt/Option + F to open the dialog window of the previous filter we used (Gaussian Filter). This time, set the Radius at 20px before pressing OK to run the filter.
Tutorial Summary
As you have seen, drawing a Motorola Xoom is not so hard. It’s mainly made from rounded rectangles and simple shapes, combined with the effective use of Photoshop layer styles.
Sometimes, though, a layer style is not enough to give you a realistic appearance. This is where we needed to manually draw things such as highlights and shadows.
I hope you enjoyed this Photoshop tutorial and have picked up some useful tricks and techniques.
Download Source Files
- motorola_xoom (ZIP, 2.48 MB)
-
 Trevin serves as the VP of Marketing at WebFX. He has worked on over 450 marketing campaigns and has been building websites for over 25 years. His work has been featured by Search Engine Land, USA Today, Fast Company and Inc.
 -

WebFX is a full-service marketing agency with 1,100+ client reviews and a 4.9-star rating on Clutch! Find out how our expert team and revenue-accelerating tech can drive results for you! Learn more
Make estimating web design costs easy
Website design costs can be tricky to nail down. Get an instant estimate for a custom web design with our free website design cost calculator!
Try Our Free Web Design Cost Calculator
Table of Contents
- Preview
- Tutorial Resources
- Step 1: Create the Basic Xoom Shape
- Step 2: Create the Inner Beveled Edge
- Step 3: Create the Outer Beveled Edge
- Step 4: Modify the Top Edge
- Step 5: Create the Screen
- Step 6: Create the Taskbar
- Step 7: Drawing the Home Button and Other Buttons
- Step 8: Display the Time
- Step 9: Draw the Battery and Signal Status
- Step 10: Adding App Icons
- Step 11: Create a Screen Reflection
- Step 12: Painting Highlights
- Step 13: Painting Shadows
- Tutorial Summary
- Download Source Files
Share this article


Web Design Calculator
Use our free tool to get a free, instant quote in under 60 seconds.
View Web Design Calculator
Make estimating web design costs easy
Website design costs can be tricky to nail down. Get an instant estimate for a custom web design with our free website design cost calculator!
Try Our Free Web Design Cost Calculator