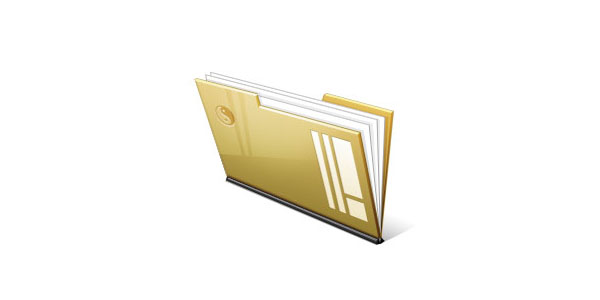
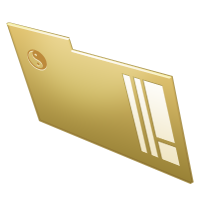
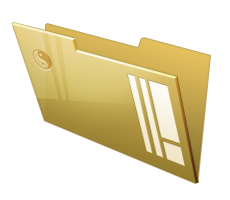
Preview
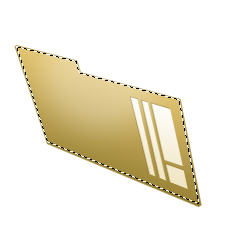
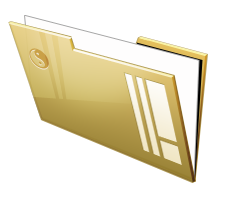
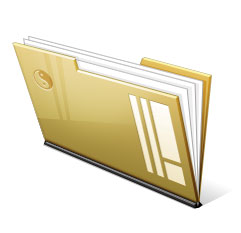
This is what we will make in this icon design tutorial.
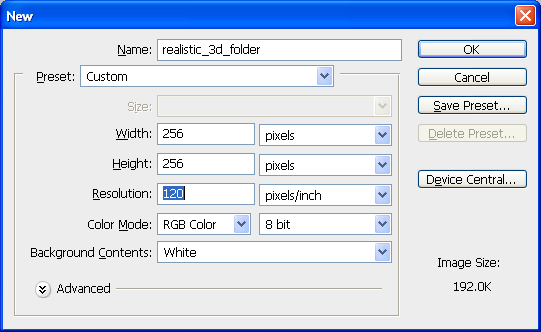
Step 1: Set Up the Canvas
We need an adequately sized canvas to start making our folder icon. 256x256px is a popular standard size for an icon, so that’s what we’ll use for the size of our canvas.
Start by creating a new file using File > New (Ctrl/Cmd + N).
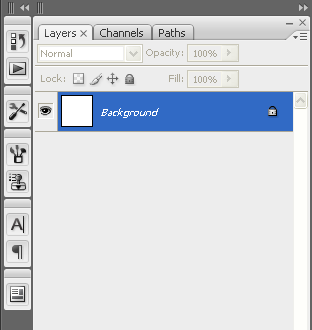
Step 2: Creating the Front Flap of the Folder
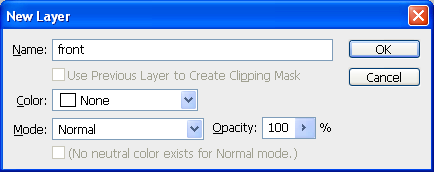
Create a new layer above the Background layer (Layer > New > Layer or Ctrl/Cmd + Shift + N) for the front of our folder.
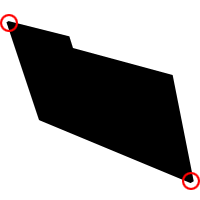
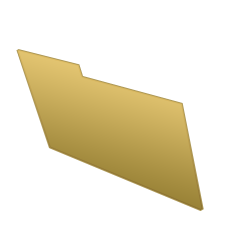
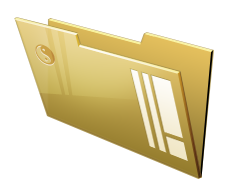
Create the shape of the front of the folder and its tab. Notice that the shape is not sharp in some corners (circled in red).
Let us style the shape we drew.
Double-click on the layer’s thumbnail in the Layers Panel to open the Layer Style dialog window.
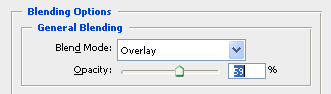
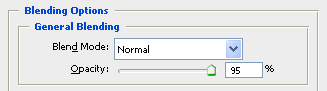
First, for Blending Options, reduce the Opacity to 95%.
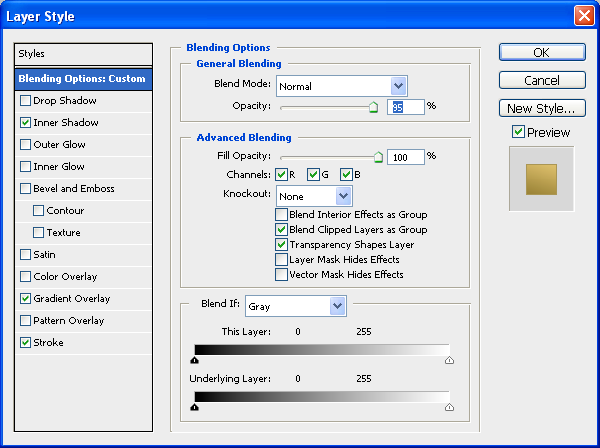
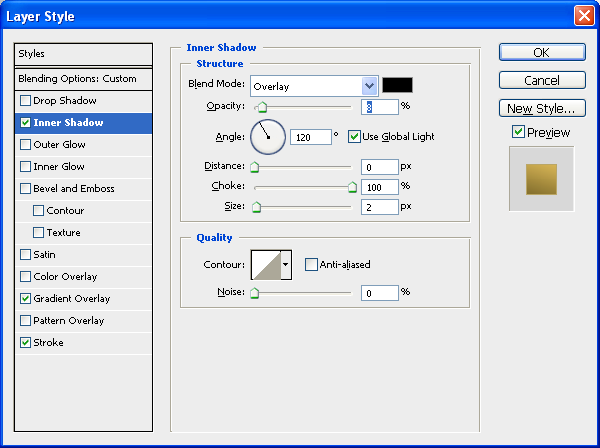
Next, we add three layer styles: Inner Shadow, Gradient Overlay, and Stroke.
Inner Shadow

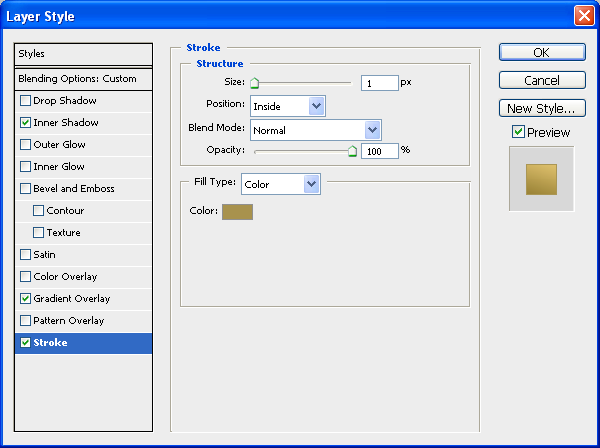
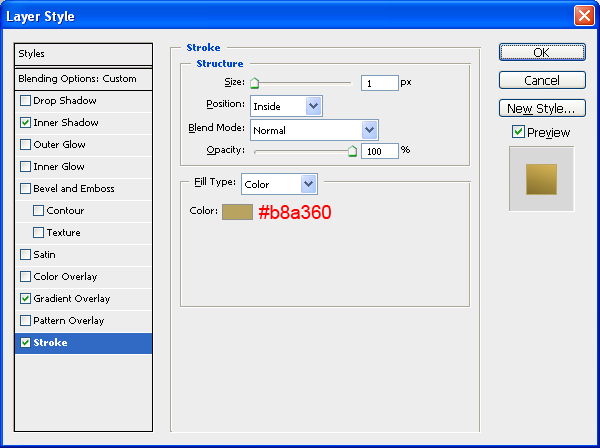
Stroke
Use a dark gold color for the Fill Type Color (#a8924d).
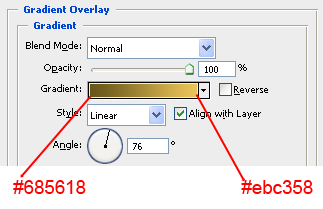
Gradient Overlay

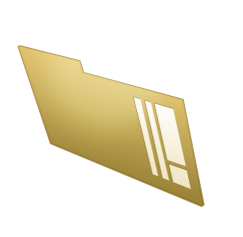
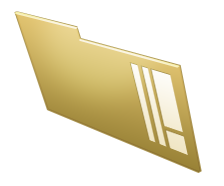
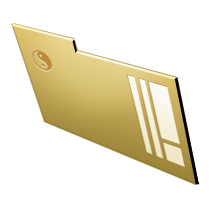
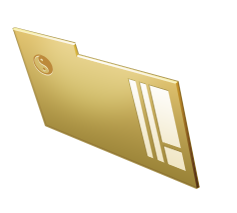
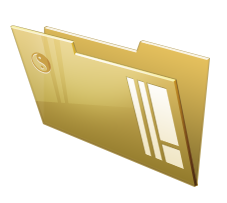
Here is the folder with all the above layer styles.
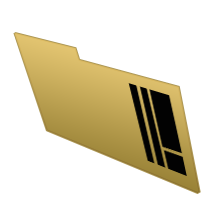
Step 3: Add Details to the Front Flap
Create a new layer and then use the Rectangular Marquee Tool (M) to create a series of shapes. Utilize Transform Screw (Edit > Transform > Skew) afterwards to match the perspective of the folder’s front flap.
Double-click on the layer’s thumbnail in the Layers Panel to access the Layer Styles dialog window. Add a Gradient Overlay and Inner Shadow to the rectangular shapes.
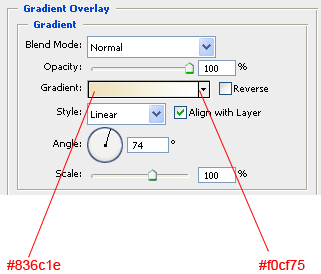
Gradient Overlay
Use an almond color (#836c1e) for the left color stop and off-white for the right color stop (#f0cf75).
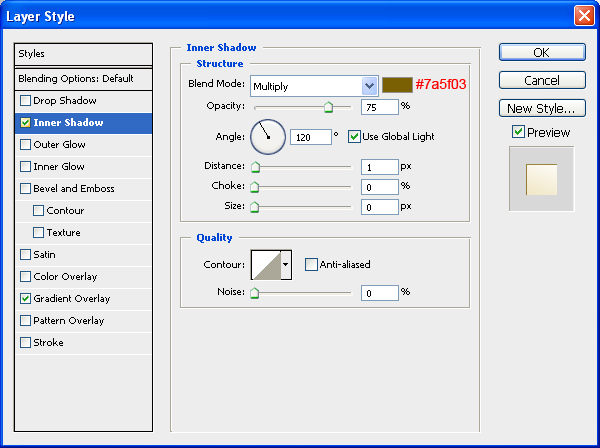
Inner Shadow
Use an olive color (#7a5f03) for the inner shadow’s color.
Step 4: Give the Flap a Radial Glow
We will make the color of the folder more interesting with a radial glow towards its upper edges.
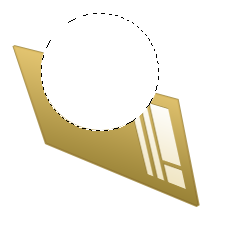
Create a new layer and create a circular selection with the Elliptical Marquee Tool (M). If you want to make the circle perfect, hold down the Shift key while making the selection. Then Edit > Fill (Shift + F5) the selection with white (#ffffff).
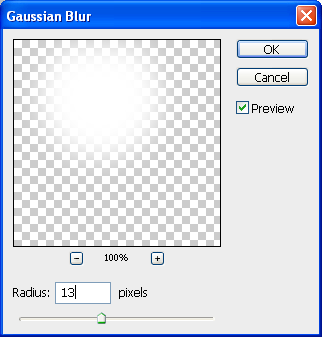
Once you have created the circle, apply a Gaussian blur by using Filter > Blur > Gaussian Blur.
Set the Radius to about 13px.

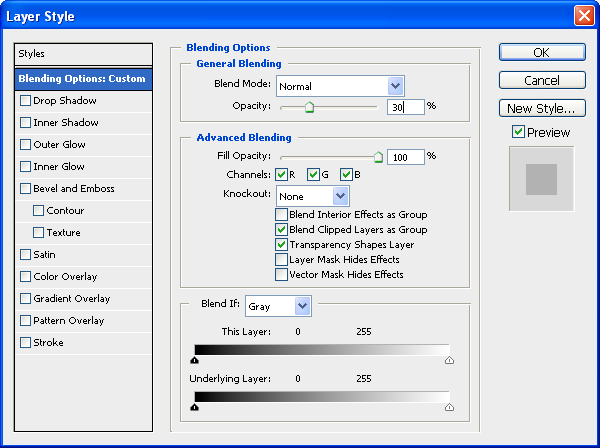
Reduce the opacity of the layer with the radial glow to 30% so that you reduce the distinction of it, blending it better with the front flap.
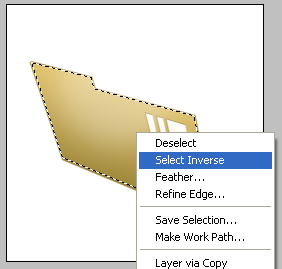
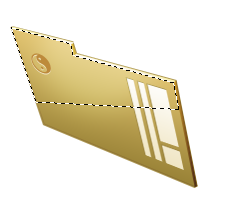
Now we need to remove the radial glow parts that are outside of the folder. Click on the Polygonal Lasso Tool (L) within the Tools Panel to activate it. Use the Polygonal Lasso Tool to make a selection around the front flap of the folder that’s 1px away from the edges.
Next, right-click inside the selection and choose Select Inverse (Shift + Ctrl/Cmd + I) from the menu that appears to invert the selection, then hit Delete to remove the areas within the inverted selection.
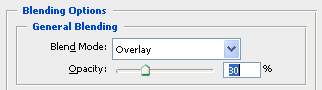
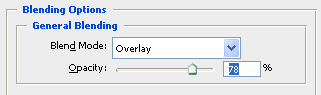
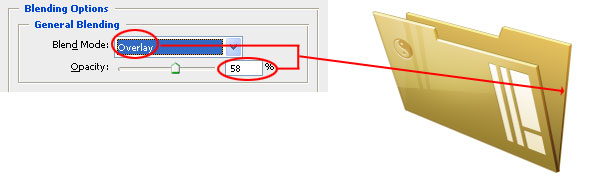
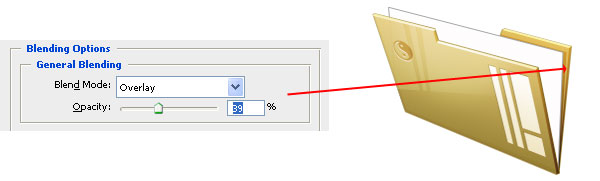
Let’s further blend the radial glow into the folder by setting the layer’s Blend Mode to Overlay.
Step 5: Make the Top Edge
Let us give our work some depth and thickness by creating the top edge of the folder.
Create a new layer and then make thin, white shapes that trace the top edge of the folder; you can use your favorite tool for this, but I used the Pen Tool (P).
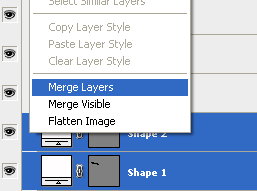
If you are creating the top edge using the Pen Tool, you will end up with two shape layers because the two shapes won’t touch each other. Just merge the corresponding layers by selecting both the layers in the Layers Panel, then right-clicking and choosing Merge Layers.
Let us blend the shapes into the folder by changing their Blend Mode to Overlay.
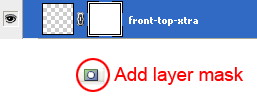
Duplicate the layer by right-clicking on it in the Layers Panel and choosing Duplicate Layer (you can name it “front-top-xtra” to keep your work organized).
Add a layer mask to the duplicated layer by clicking on the Add layer mask button at the bottom of the Layers Panel.
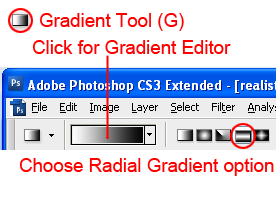
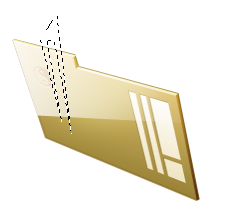
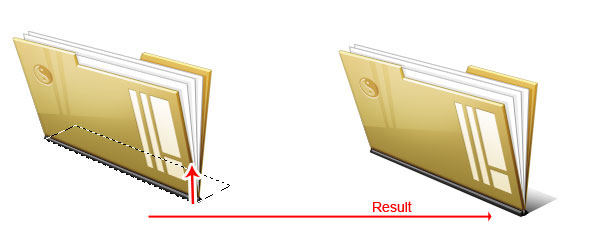
Set your Foreground color to white (#ffffff) and Background color black (#000000) in the Tools Panel. Then choose the Gradient Tool (G) and set up its options.
Set the gradient to the Foreground, Background gradient preset in the Gradient Editor (it should be white and black — that’s why you had to set your Foreground and Background color first). Also, choose the Reflected Gradient option.
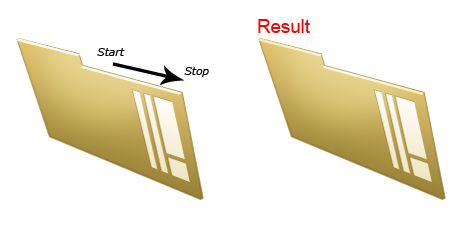
Apply the gradient on the layer mask by clicking-and-dragging from about the middle, towards the right edge of the folder flap, following its natural perspective (shown with a black arrow).
Step 6: Add a Ying and Yang Embellishment
Use the Custom Shape Tool (U) to add the Ying Yang custom shape (it comes with Photoshop by default) towards the right of the folder. Feel free to use your preferred shape or text.
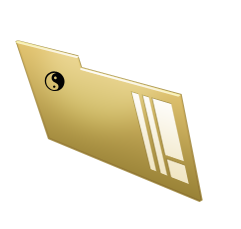
Next, we need to align the logo along the perspective of the folder.
Go to Edit > Transform > Skew.
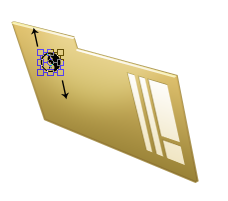
Drag the top-left and the bottom-right transform controls to match our folder flap’s perspective.
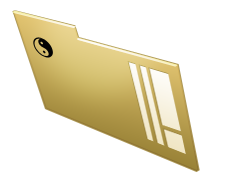
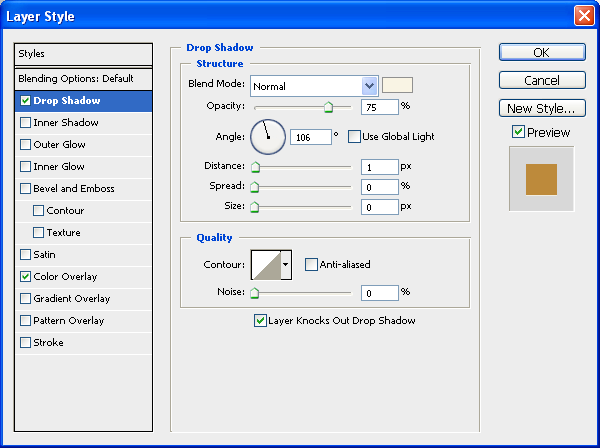
Let us style our Ying Yang symbol to match our work. We will use a Drop Shadow layer style and a Color Overlay layer style.
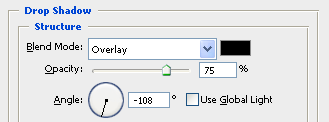
Drop Shadow
Set the color of the drop shadow to off-white (#f9f4e4).
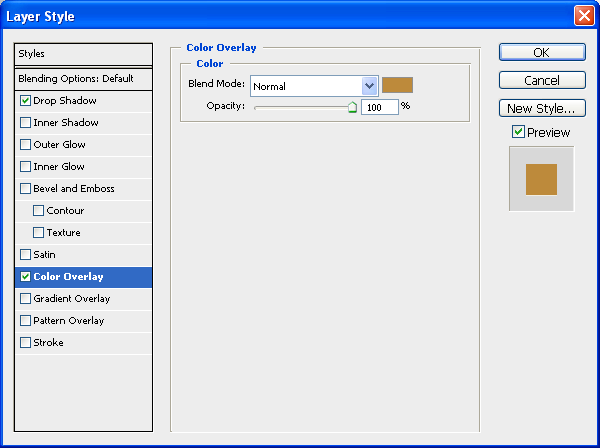
Color Overlay
Set the color of the overlay to a dark tan color (#bd8a3b).
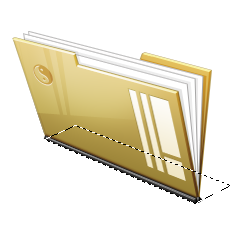
Step 7: Create the Right Edges
Okay, now we also need to show the thickness and depth of the folder from the sides. Create a new layer and make shapes on the right vertical edges of the folder flap (shown in black) using a similar process of creating the top edge.
Once done, set the layer’s Blend Mode to Overlay and Opacity to 59%.
Step 8: Add a Top Reflection
Let’s create a reflection to make our work look more detailed.
Create a new layer and use the Polygonal Lasso Tool (L) to make a selection at the top of the folder.
Set your Foreground color to white (#ffffff), then use the Gradient Tool (G) — set at the Foreground, Transparent gradient preset — to make a white to transparent gradient inside the selection; white at the top and transparent at the bottom.
To accent our reflection and give it a more natural look, place another selection with the Polygonal Lasso Tool.
Hit the Delete key to remove the area underneath your selection.
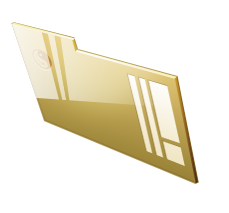
Set the reflection layer’s Blend Mode to Overlay and Opacity to 28% to reduce its prominence and to improve its blending with our work.

Let us stop for a moment and organize our layers. Select all of your layers — except the Background layer — and go to Layer > Group Layers (Ctrl/Cmd + G); rename the group as “Front” to keep our work labeled well.
Step 9: Create the Back Flap Shape
Click on the Background layer again and create a new layer over it by pressing Ctrl/Cmd + Shift + N (ensure that the new layer is below the “Front “layer group).
Make a shape for the back flap using the Polygonal Lasso Tool (L) and fill it with black (#000000).
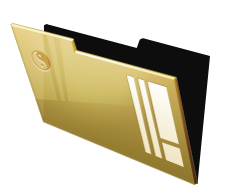
Reduce the Opacity of the layer to 95%.
We will give it similar layer styles as the front flap of the folder: Inner Shadow, Gradient Overlay, and Stroke.
Inner Shadow
Set the color of the Inner Shadow to black (#000000).
Gradient Overlay
Have the gradient go from a dark green (#685618) to a yellow (#ebc358).
Stroke
The stroke color should be a brownish-yellow color (#b8a360).
Here is the result of the layer styles.
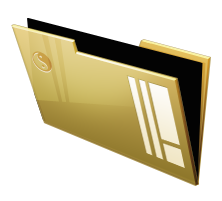
Step 10: Give the Back Flap Some Depth
To add a thickness to this back flap, create a new layer and make white shapes at the top edges, similar to the shapes we made for the front flap.
Next, set the Blend Mode of this layer to Overlay.

Create the thickness for the right edge of the back flap using a black shape.
Set the layer’s Blend Mode to Overlay and reduce the Opacity to 58%.
Now our 3D folder is finished! Next, we need to add some sheets of paper inside it.
But before moving on, let’s group the back flap layers together in a new layer group called “Back”.
Step 11: Creating a Piece of Paper
Create a new layer (Ctrl/Cmd + Shift + N) in between the “Front” and “Back” layer groups.
On the new layer, make a rectangular paper shape, making sure the angle of it matches our icon’s perspective.
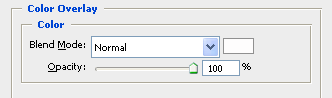
Apply a Color Overlay and Stroke layer style on the paper shape.
Color Overlay
Set the color of the overlay to white (#ffffff).
Stroke
Set the stroke color to a gray color (#a7a6a6).
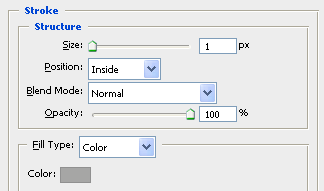
Here is the result of our layer styles.
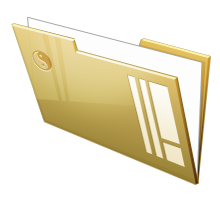
Step 12: Give the Piece of Paper a Shadow
We can give our piece of paper some depth using a drop shadow. Create a new layer behind our paper. Draw a black shape in the new layer.
Set the black shape’s Blend Mode to Overlay and reduce the Opacity to around 39%.
Step 13: Make More Paper
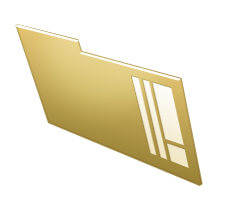
Create more pieces of paper using the above methods.
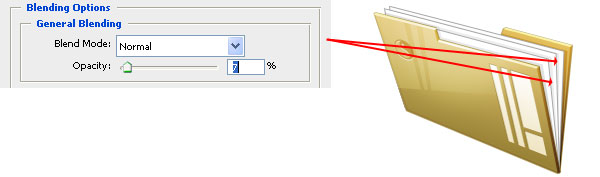
However, for the new sheets of paper, we should use a Blend Mode set to Normal instead of Overlay for the shadow or else it wouldn’t look right since the paper that will be behind it is white-colored. However, what we can do is reduce the Opacity to around 7% to create a similar effect.
Step 14: Improve the Top Strokes
Don’t you think the top edges of the sheets of paper are too exaggerated? Let’s improve them a bit.
First, use your favorite selection tool to create white lines in a new layer above all the pieces of paper.

Reduce the opacity of this layer to 40%.
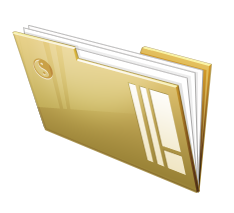
That’s it for the sheets of paper.
Group all these files in a new layer group called “Files” before moving on.
Step 15: Create the Binding Shape
Now we need to create the plastic binding that can be found in many real-world folders (they serve to reinforce the durability of the folder and also to hold the pieces of paper in place).
Note: It’s worth noticing that this is an extra flourish. You can choose not to add the binding and you’ll still have a great looking folder icon.
Create a new layer (Ctrl/Cmd + Shift + N) above the “Front” layer group.
Draw a black shape on the new layer at the bottom base of our folder that represents the shape of the binding.

Give this layer a Drop Shadow, Gradient Overlay, and Stroke layer style.
Drop Shadow
The drop shadow’s color is black (#000000).
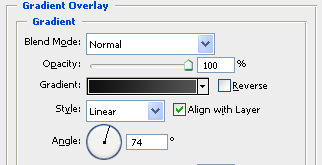
Gradient Overlay
Have the gradient go from very dark, almost black, gray (#0f0f0f) to dark gray (#535151).
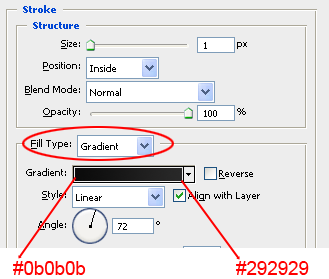
Stroke
Set the Fill Type of the stroke to Gradient, and then have the stroke gradient go from very dark gray (#0b0b0b) to dark gray (#292929).
Here is how our binding looks with the layer styles we applied.

We need to give our binding some thickness to match our icon’s three-dimensional look. Create a new layer and then draw a black shape at the right end of the binding.

Step 16: Give the Binding Some Details
Our binding needs to be shaded in order to rhyme with the 3D look of our folder icon.
Create a new layer and make a white shape going across the binding.

Reduce its Opacity to around 40-45% to blend it better.

Now, let’s create a separator for the binding; this small detail is hardly recognizable, but details make all the difference in icon design. Create a new layer, make a white shape, and then reduce the Opacity to around 40-45% as well.

Step 17: Adding the Folder’s Shadow
As the final step of this tutorial, create a new layer just above the Background layer. Use the Polygonal Lasso Tool (L) to make a selection behind the folder.
Keep your selection active.
Set the Foreground color to black (#000000) in the Tools Panel. Switch to the Gradient Tool (G) and make a color gradient starting from the bottom to the top using the Foreground, Transparent gradient preset.
Lower the opacity of the shadow’s layer to around 25-30% to reduce the excessive prominence of the shadow.
Tutorial Summary
This tutorial went over the creation of a 3D folder icon with pieces of filed paper in it. We used some layer styles and basic drawing techniques to arrive at the final result.
Feel free to ask any questions in the comments, and I look forward to your thoughts.
Download Source Files
- 3d_folder_icon (ZIP, 0.26 MB)
-
 Trevin serves as the VP of Marketing at WebFX. He has worked on over 450 marketing campaigns and has been building websites for over 25 years. His work has been featured by Search Engine Land, USA Today, Fast Company and Inc.
 -

WebFX is a full-service marketing agency with 1,100+ client reviews and a 4.9-star rating on Clutch! Find out how our expert team and revenue-accelerating tech can drive results for you! Learn more
Make estimating web design costs easy
Website design costs can be tricky to nail down. Get an instant estimate for a custom web design with our free website design cost calculator!
Try Our Free Web Design Cost Calculator
Table of Contents
- Preview
- Step 1: Set Up the Canvas
- Step 2: Creating the Front Flap of the Folder
- Step 3: Add Details to the Front Flap
- Step 4: Give the Flap a Radial Glow
- Step 5: Make the Top Edge
- Step 6: Add a Ying and Yang Embellishment
- Step 7: Create the Right Edges
- Step 8: Add a Top Reflection
- Step 9: Create the Back Flap Shape
- Step 10: Give the Back Flap Some Depth
- Step 11: Creating a Piece of Paper
- Step 12: Give the Piece of Paper a Shadow
- Step 13: Make More Paper
- Step 14: Improve the Top Strokes
- Step 15: Create the Binding Shape
- Step 16: Give the Binding Some Details
- Step 17: Adding the Folder’s Shadow
- Tutorial Summary
- Download Source Files
Share this article


Web Design Calculator
Use our free tool to get a free, instant quote in under 60 seconds.
View Web Design Calculator
Make estimating web design costs easy
Website design costs can be tricky to nail down. Get an instant estimate for a custom web design with our free website design cost calculator!
Try Our Free Web Design Cost Calculator